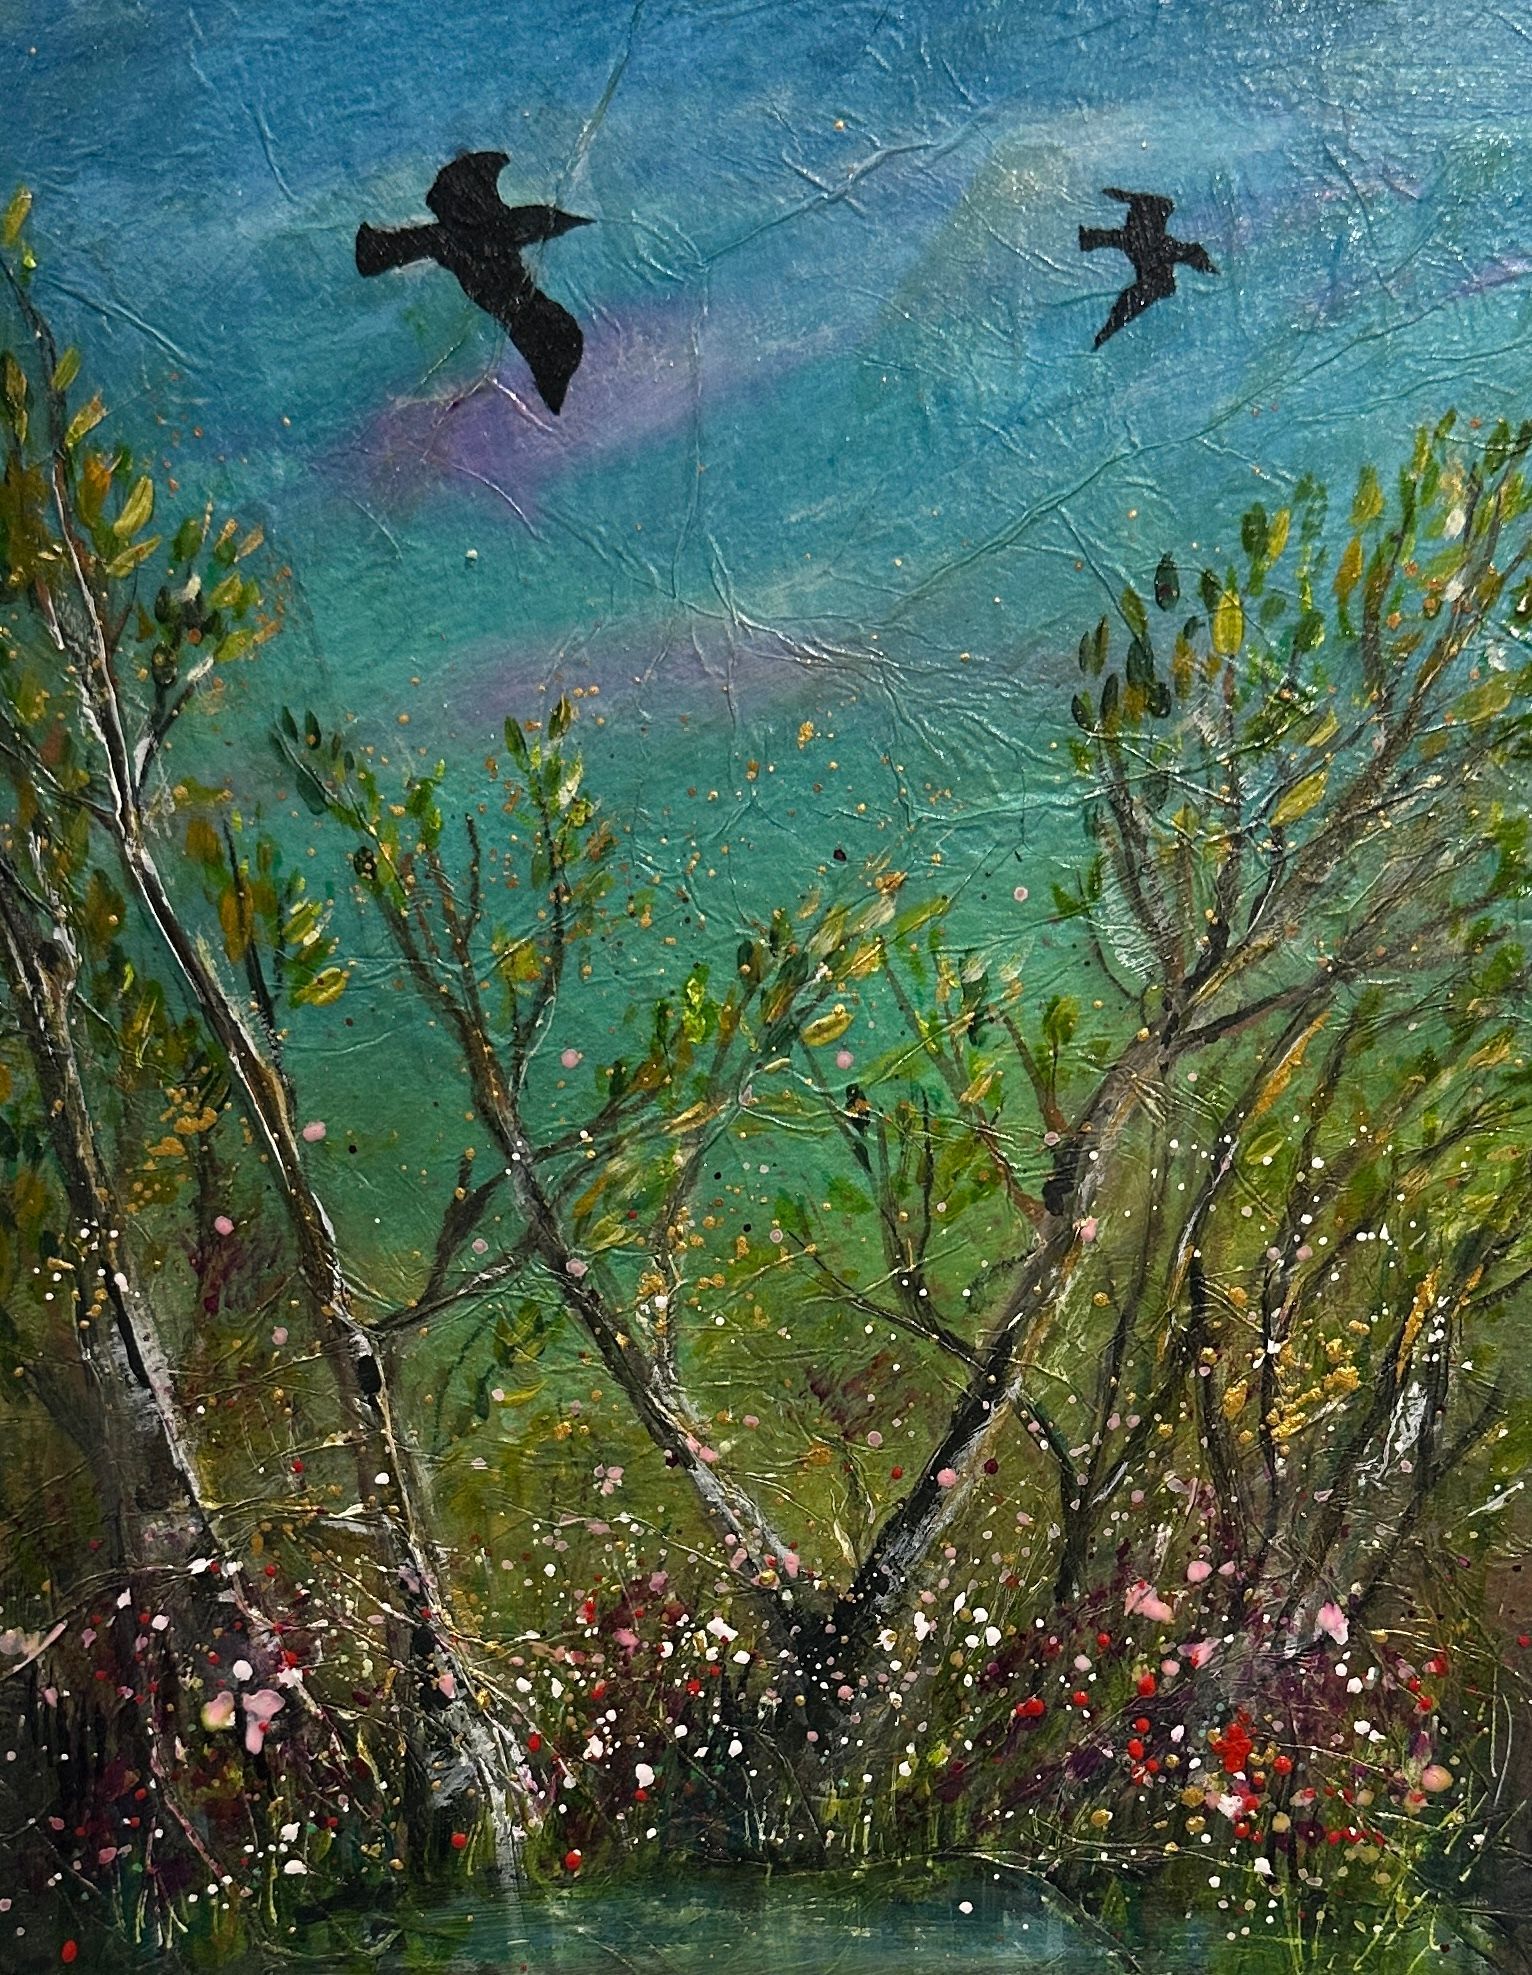
Using dyed tissue for texture in art Guide 2
The dyed tissue paper can be mounted onto a variety of substrates, for example, a wooden canvas, mount-board or medium weight watercolour paper. Please use the art materials that you have to complete this activity - do not feel you have to buy a lot of new supplies.
Materials
- A medium and a small paint brush
- Selection of watercolour or acrylic inks
- Walnut ink or dark brown acrylic paint or ink
- Pan pastels e.g. gold, dark blue and green
- Aquarelle Stabilo brown pencil
- Optional: Posca pens
- Dr Ph Martin's Bleed proof white
- Modge podge or other acrylic matt glue/sealer
- Pritt stick or other solid glue, or wallpaper paste.
- Flying birds stencil: www.hobbycraft.co.uk
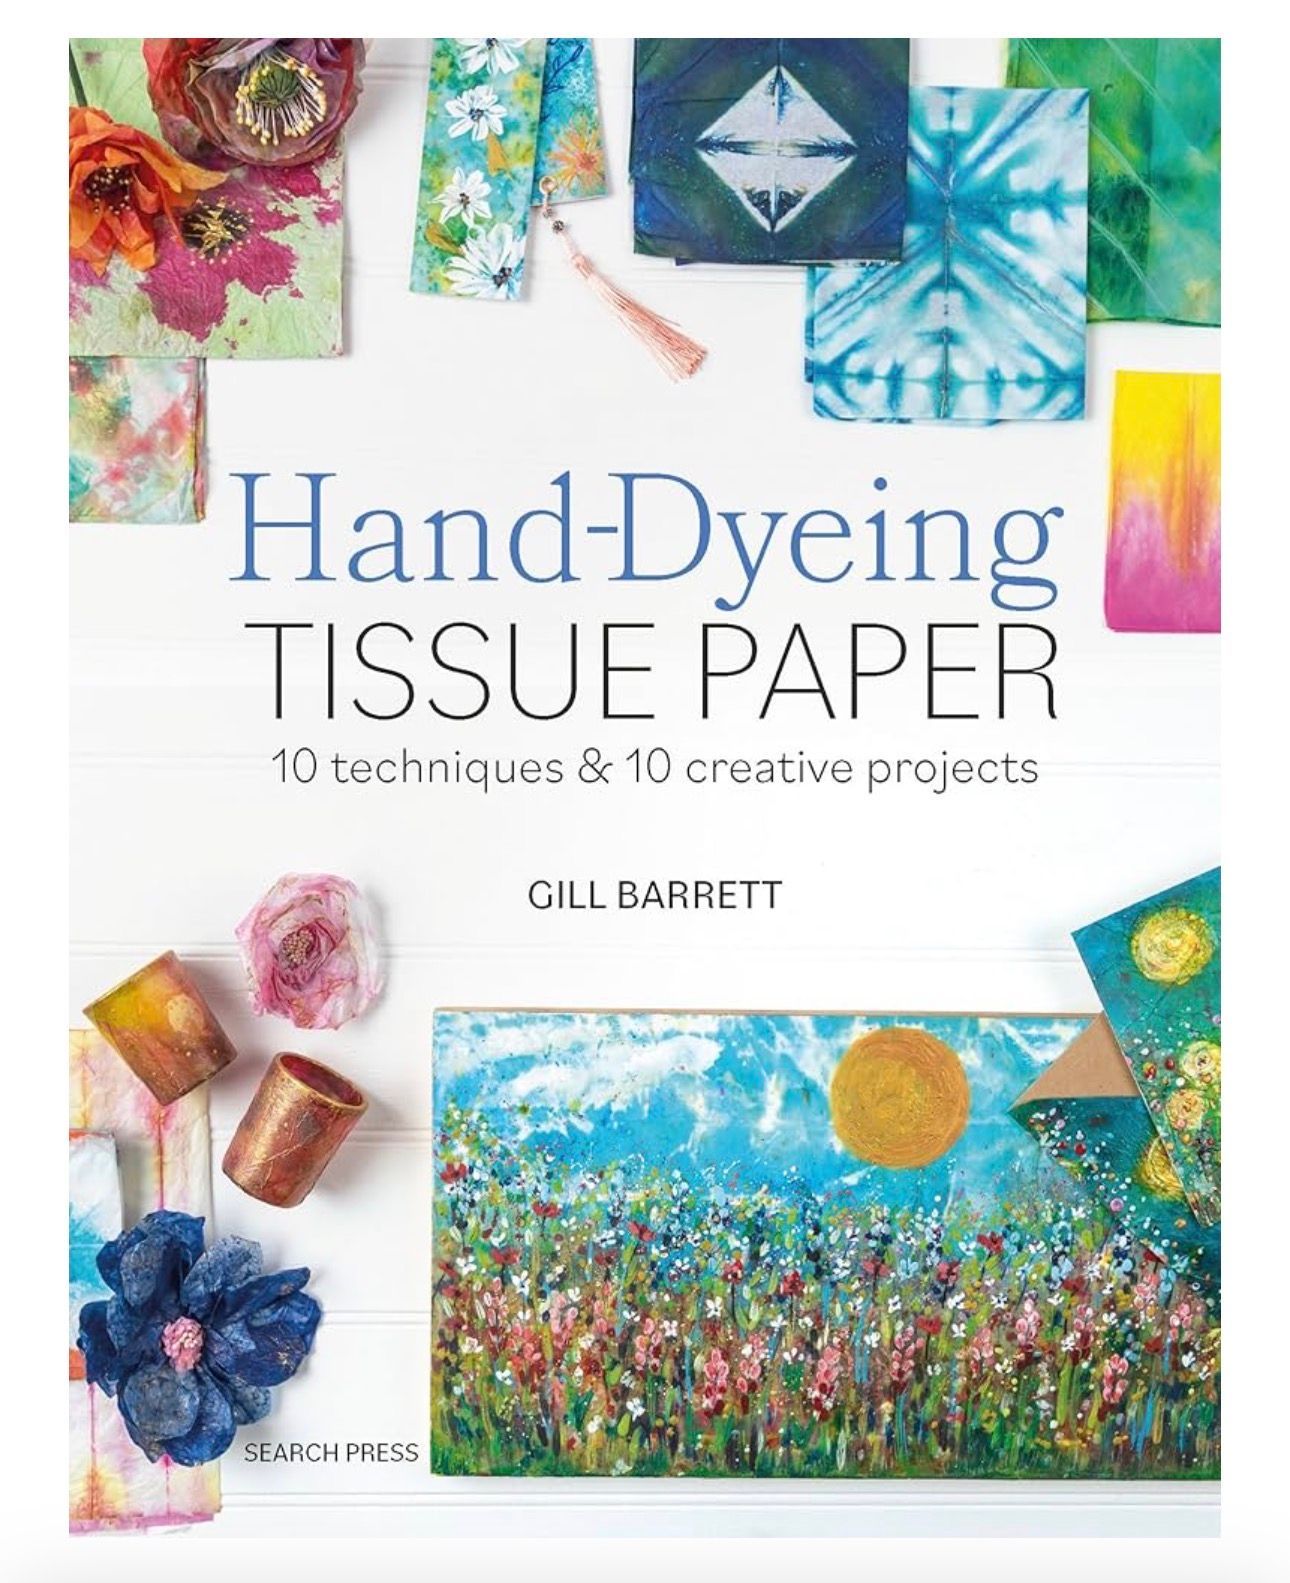
- Carnival Wet strength tissue paper: www.carnivalpapers.com
Equipment
- Silicone protective mat
- Scissors
- Cutting knife
- Cutting mat
- Foam brush or pieces of sponge
- Disposable gloves
- Spray bottle filled with water
- Paper towels
- Disposable baby wipes
- Pot of clean water
- Heat gun or heat tool
INSTRUCTIONS
Step 1.
Lay out your materials and equipment. Put down a protective mat on your surface. Place down a piece of Carnival wet strength tissue paper. Use a little water to dilute drops of blue, green, brown and pink ink into a palette.
Step 2.
Spray water over the tissue paper. Using a piece of sponge or foam brush sweep diluted ink colours across the tissue: darker blue at the top, then paper, then green and or brown. Add streaks of pink across the blue. Splatter some pink or red paint over the lower section to represent a haze of flowers. Dry carefully with a heat gun on low temperature.


Step 3.
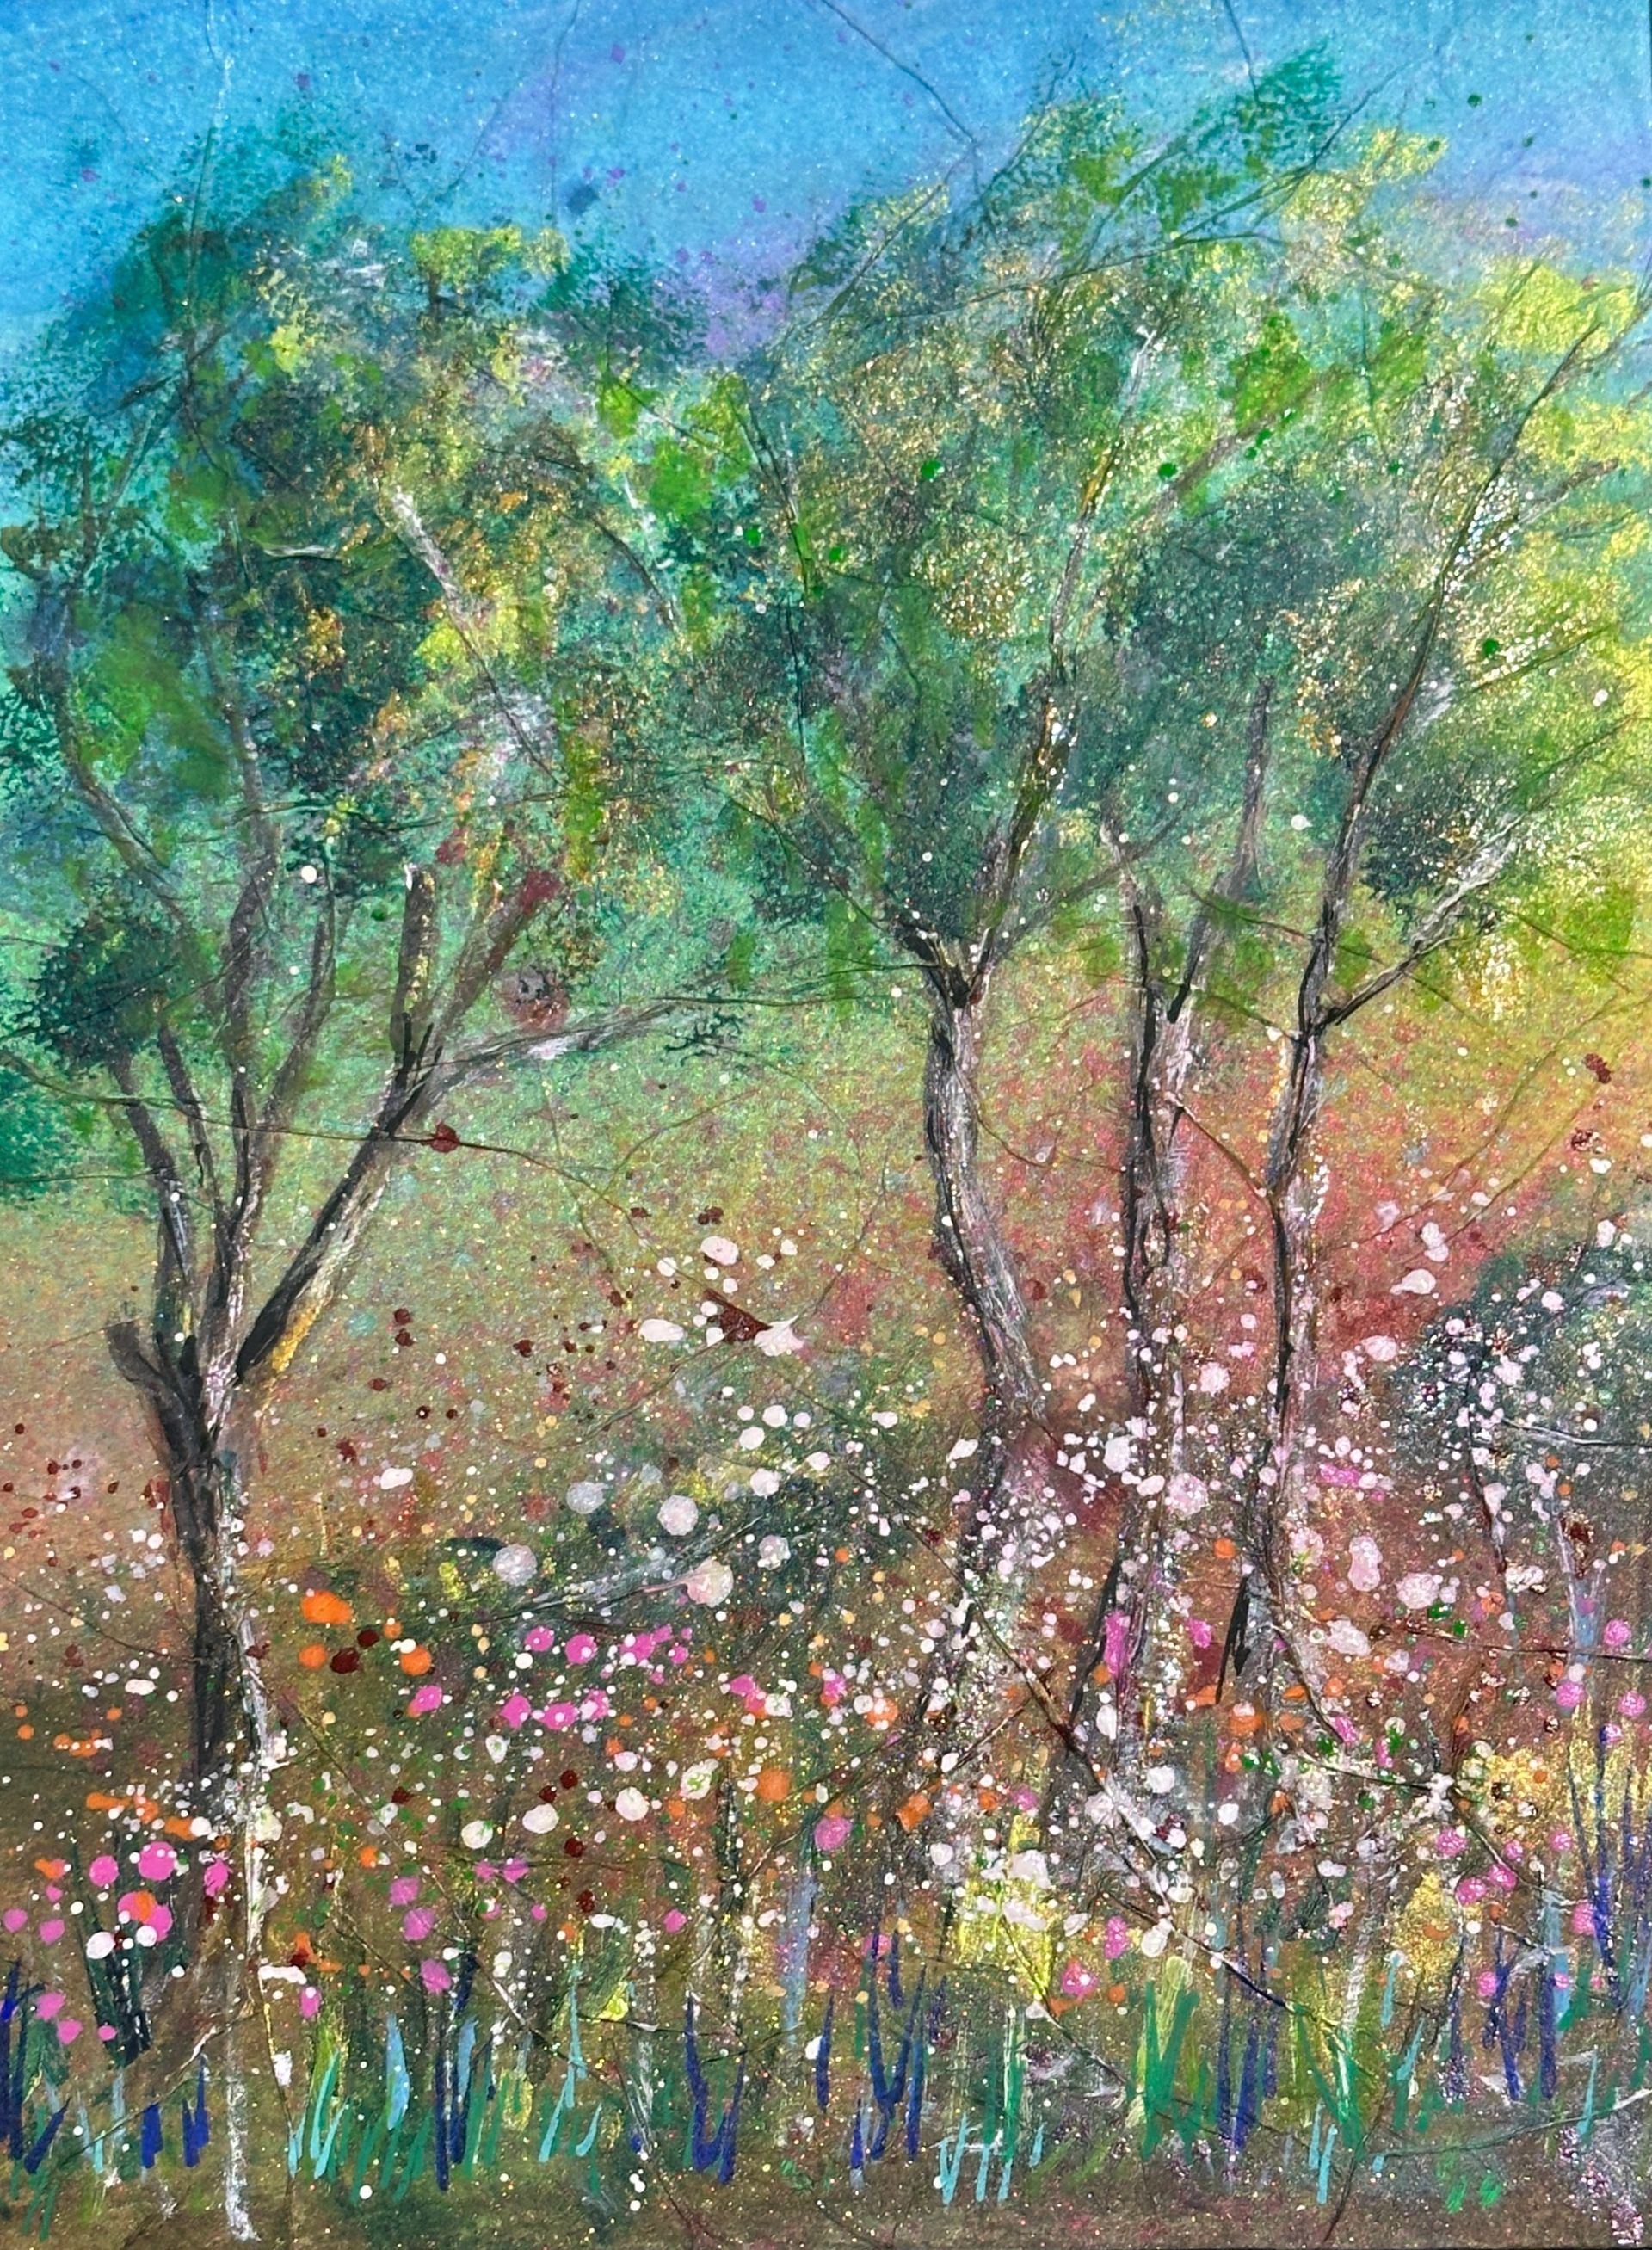
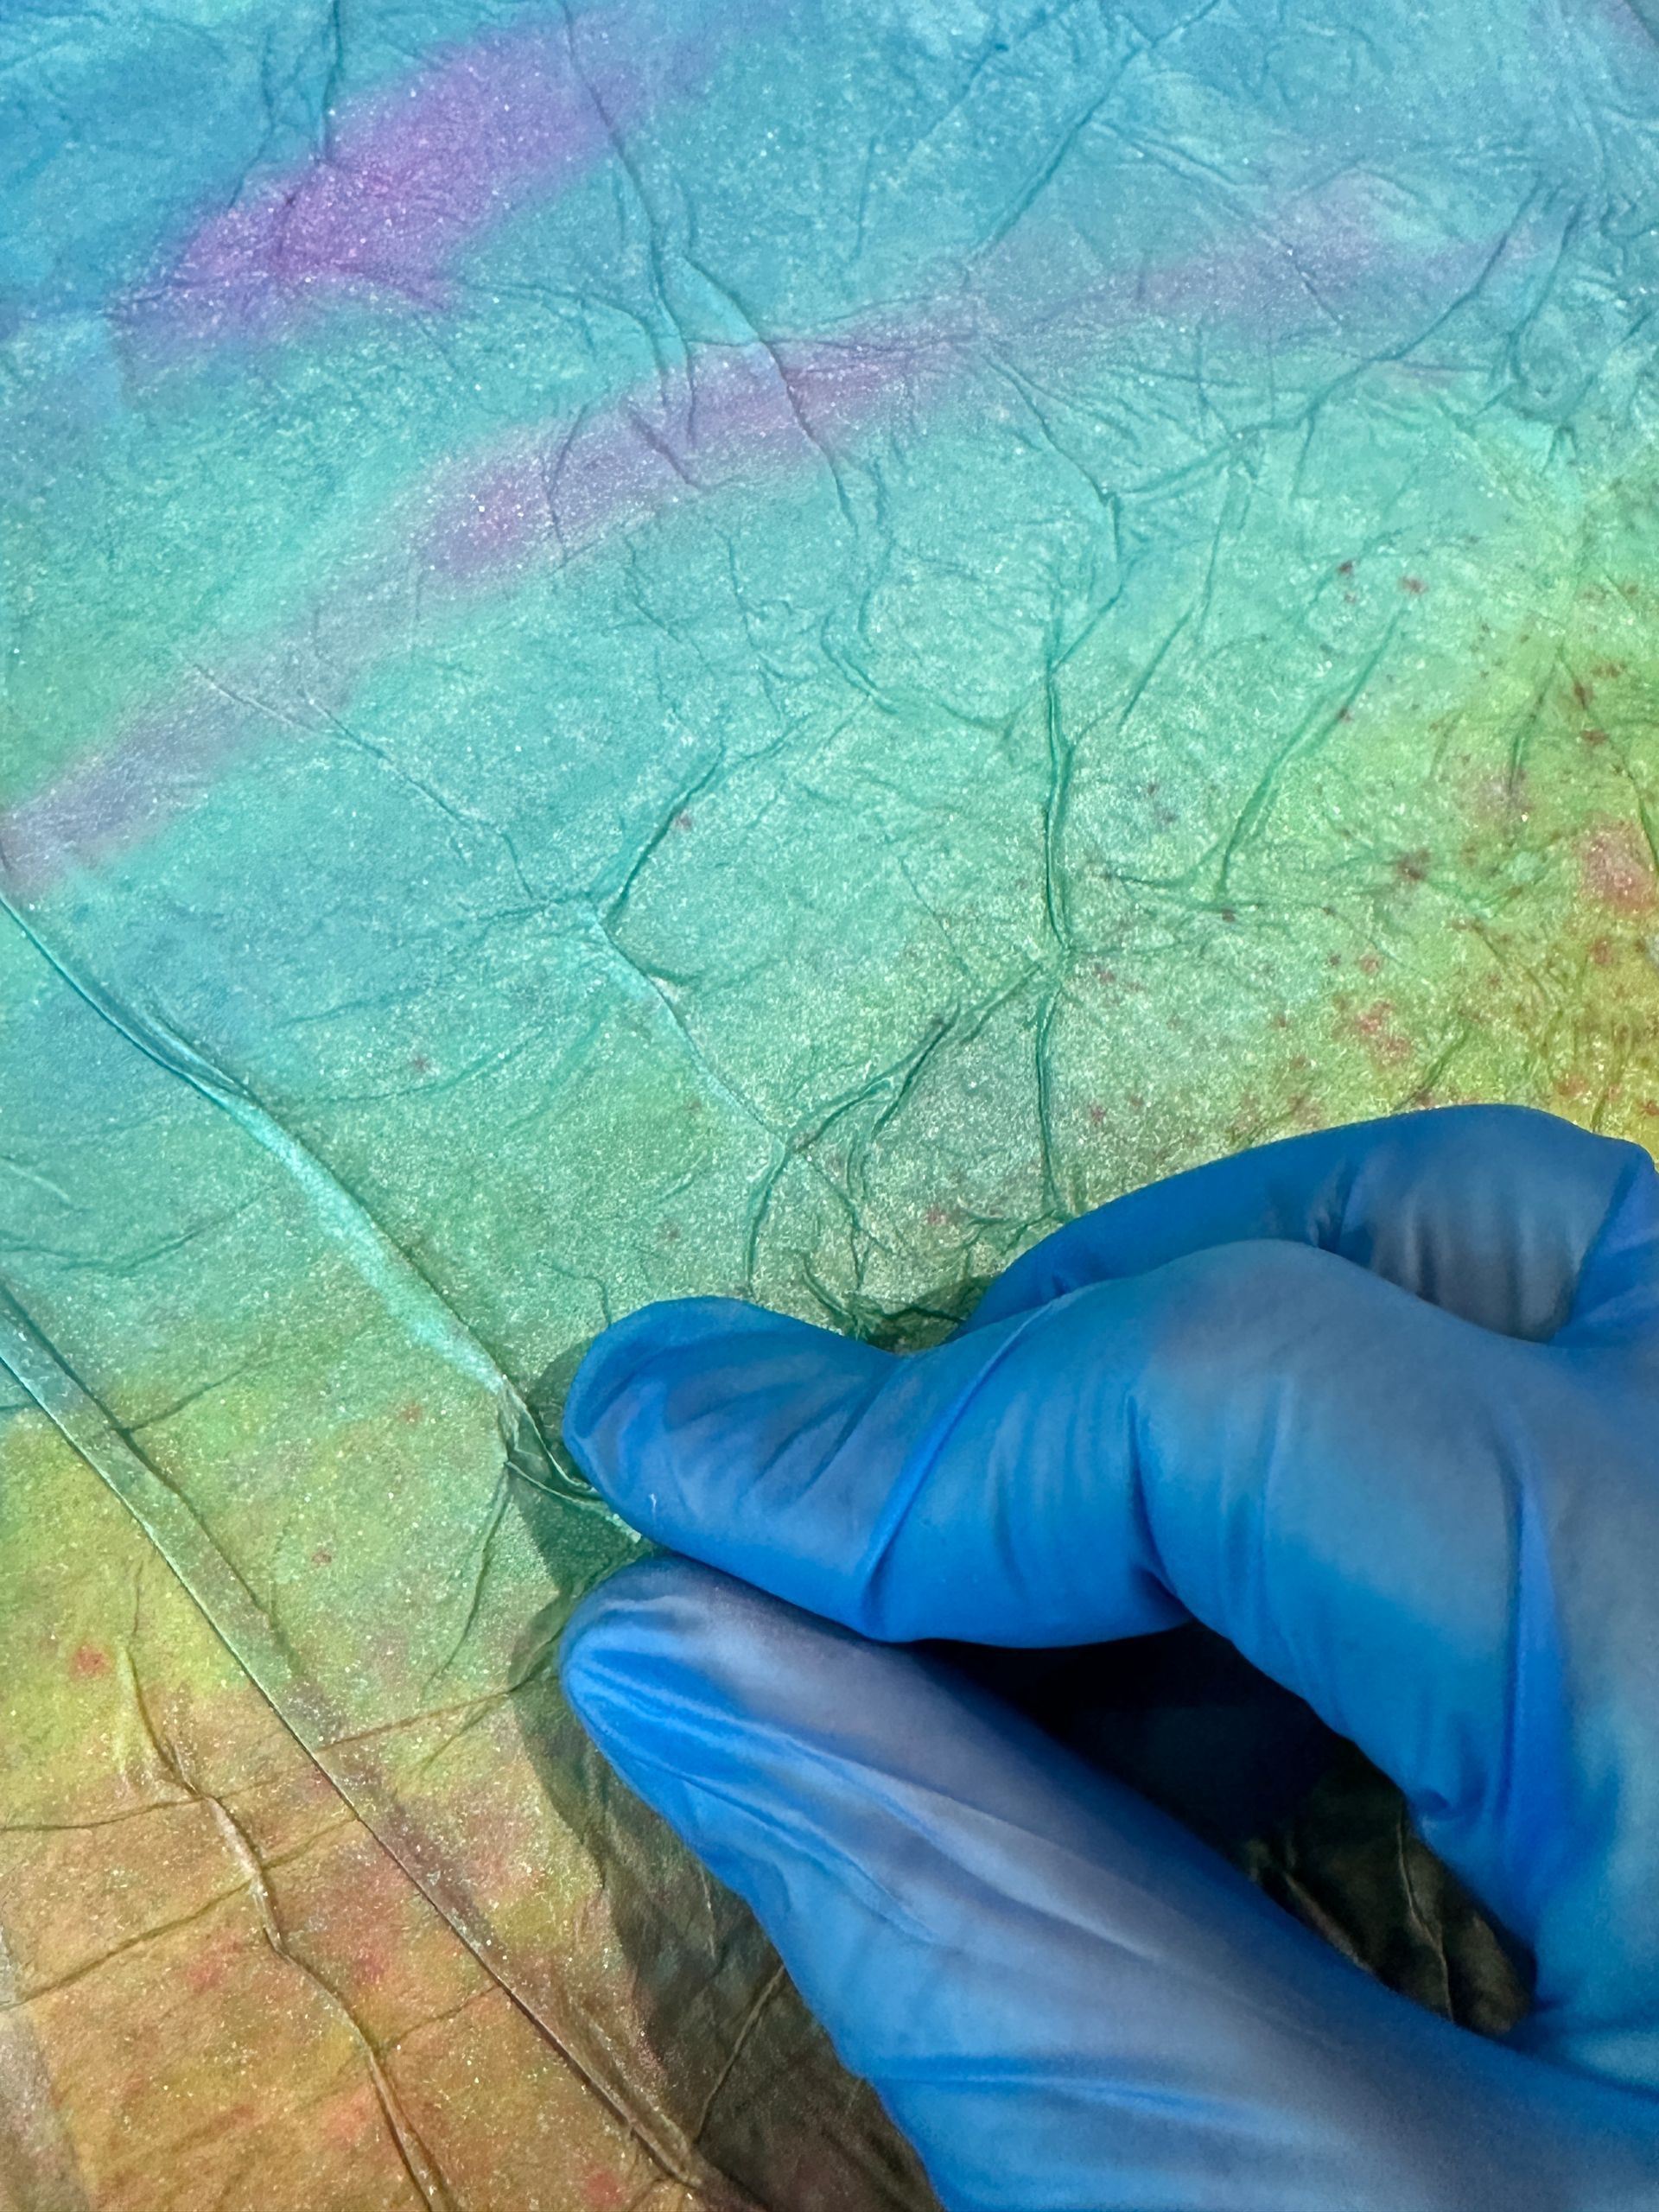
Using Pritt stick or wallpaper paste, stick the tissue paper down onto the substrate and squeeze with your fingers to create wrinkles - make some abstract linear ones as if tree trunks. Let the wrinkles guide your design. Leave to dry. Trim edge of tissue from board. If using paper, you can fold the edges over and glue with Pritt stick.
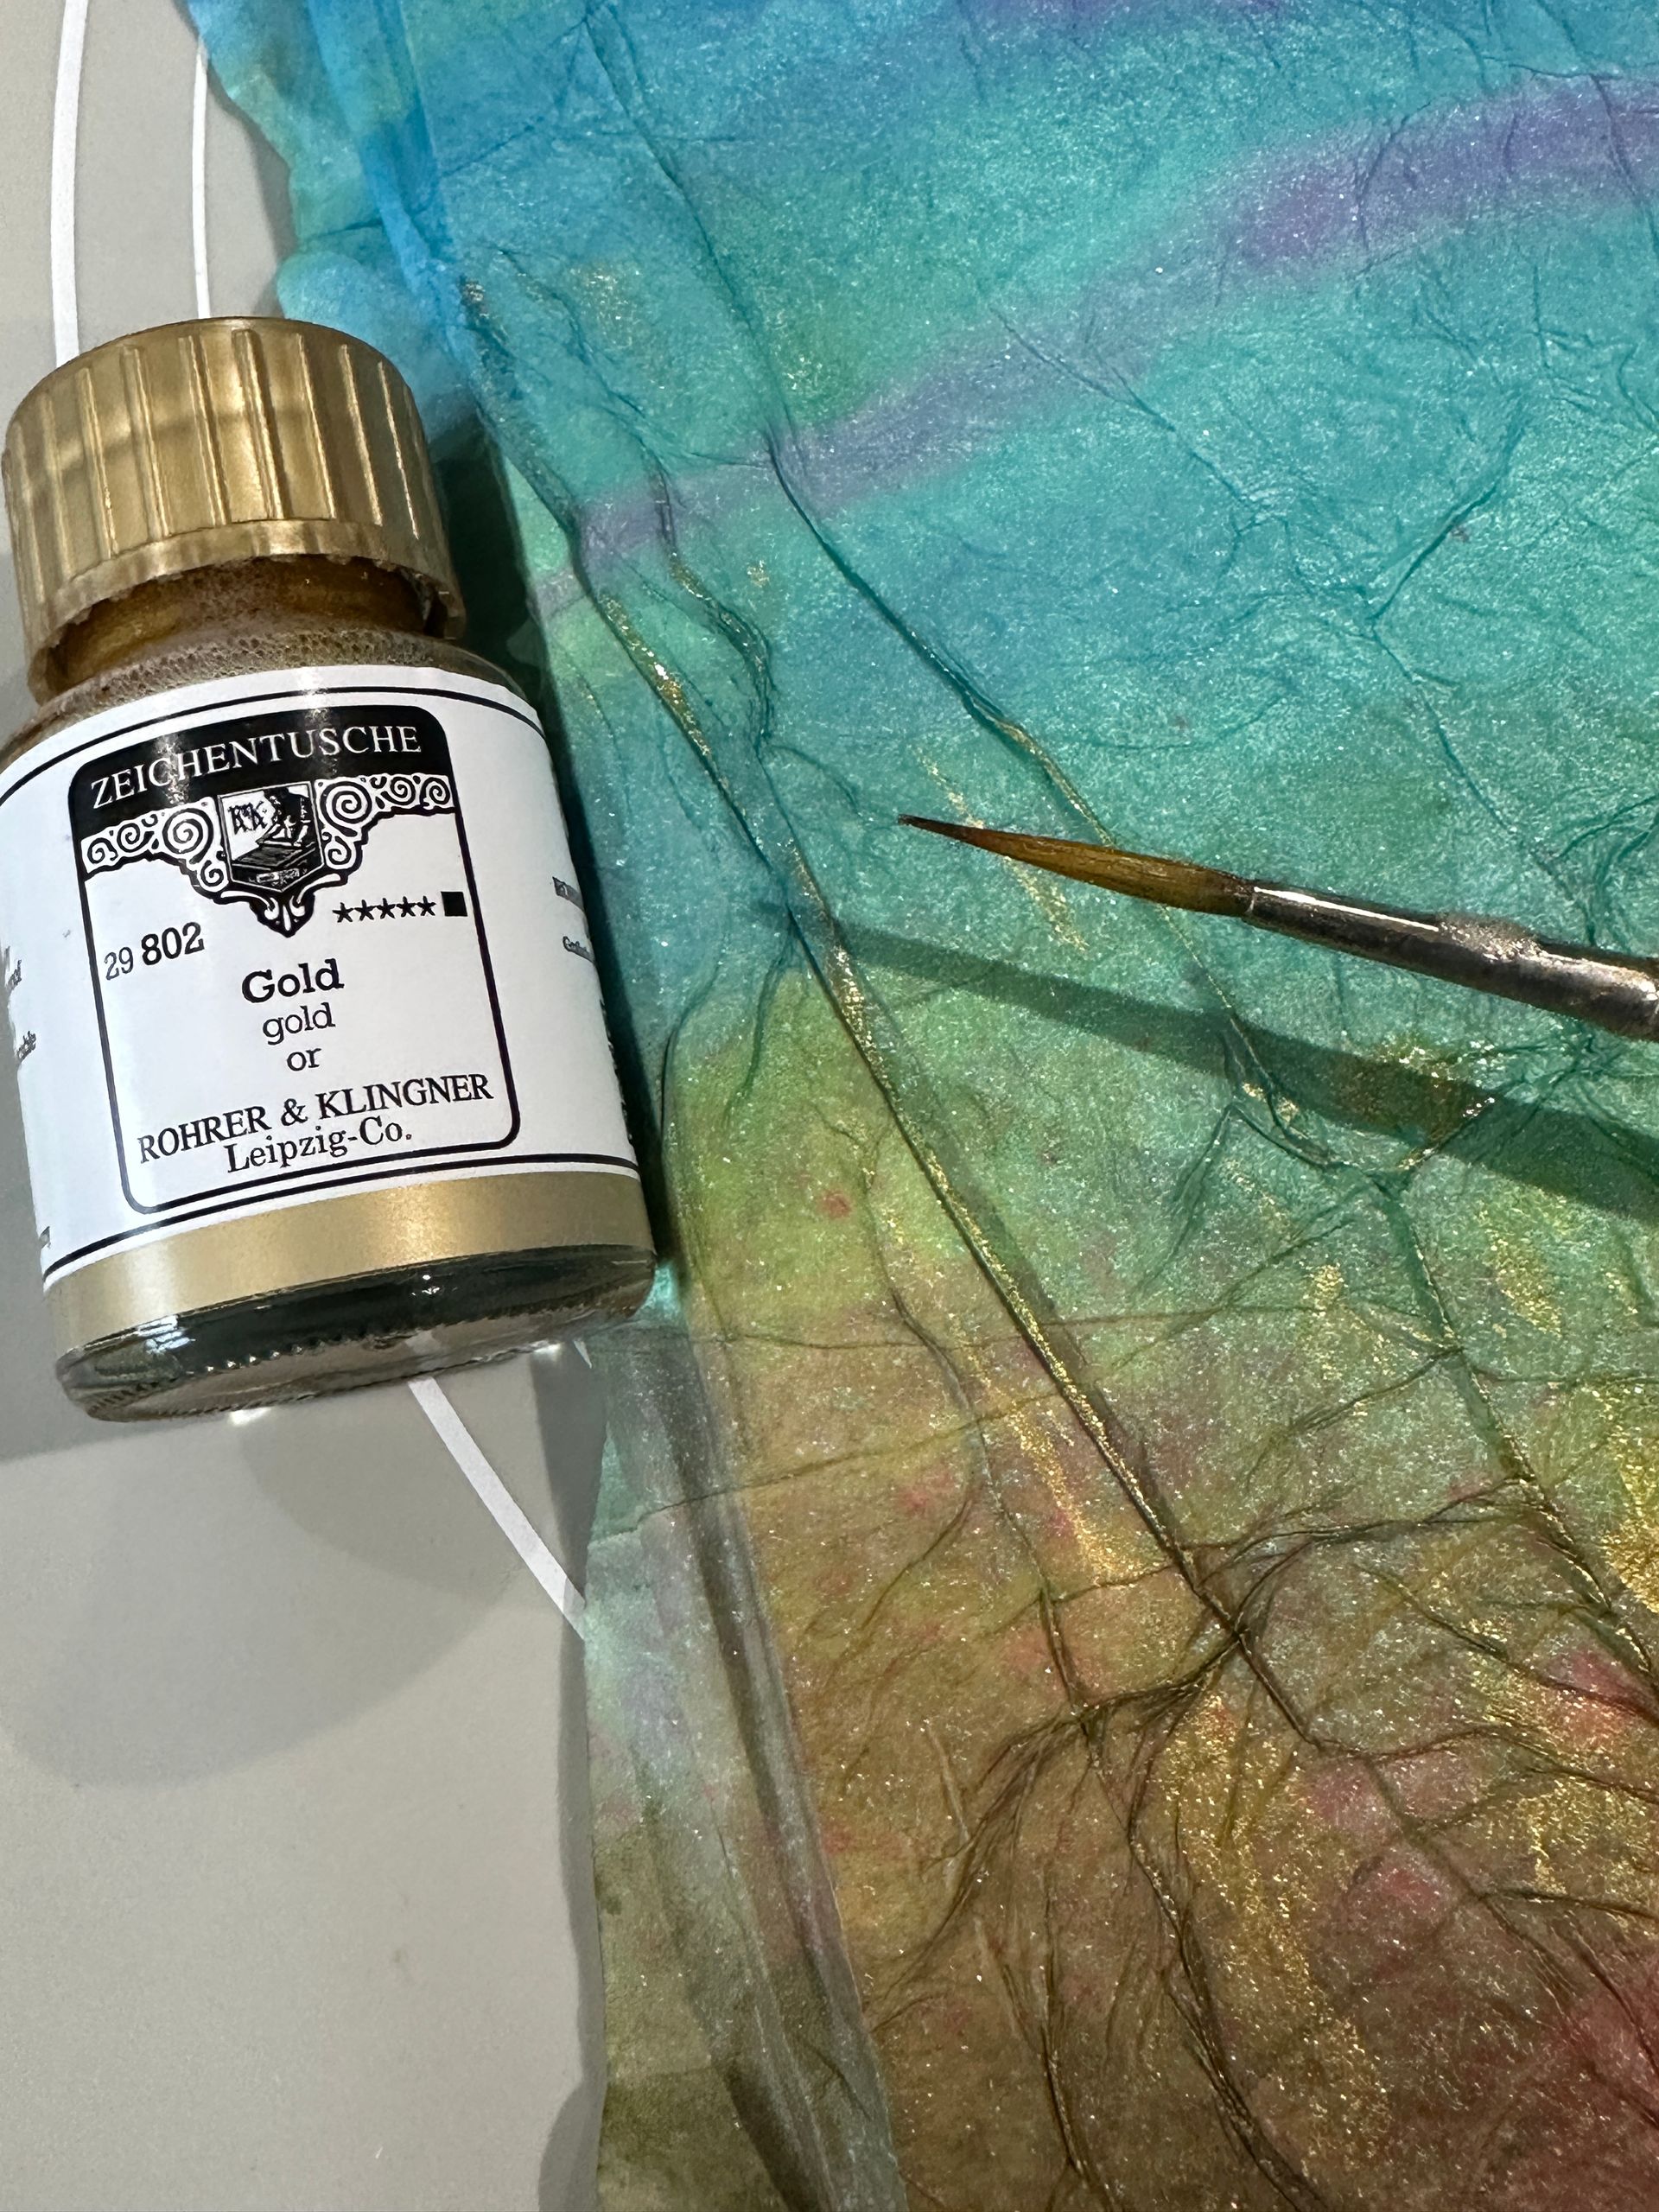
Rub gold pan pastel over the raised texture to create highlights. Develop the tree and bush outlines by painting on wider trunks and adding branches. Paint on darker inks on the left of the tree trunks and lighter colours including gold and white on the right - to give the effect of light coming from the right of the painting.


Step 4.
Add more detail to your design by painting foliage, using inks, acrylic paints. or Posca pens. Sponge on shades of green paint for tree leaves or paint leaves on directly. Add more shading to the left of the tree trunks with an Aquarelle brown pencil and white highlights on the right, using Dr Ph Martin's Bleed proof white.
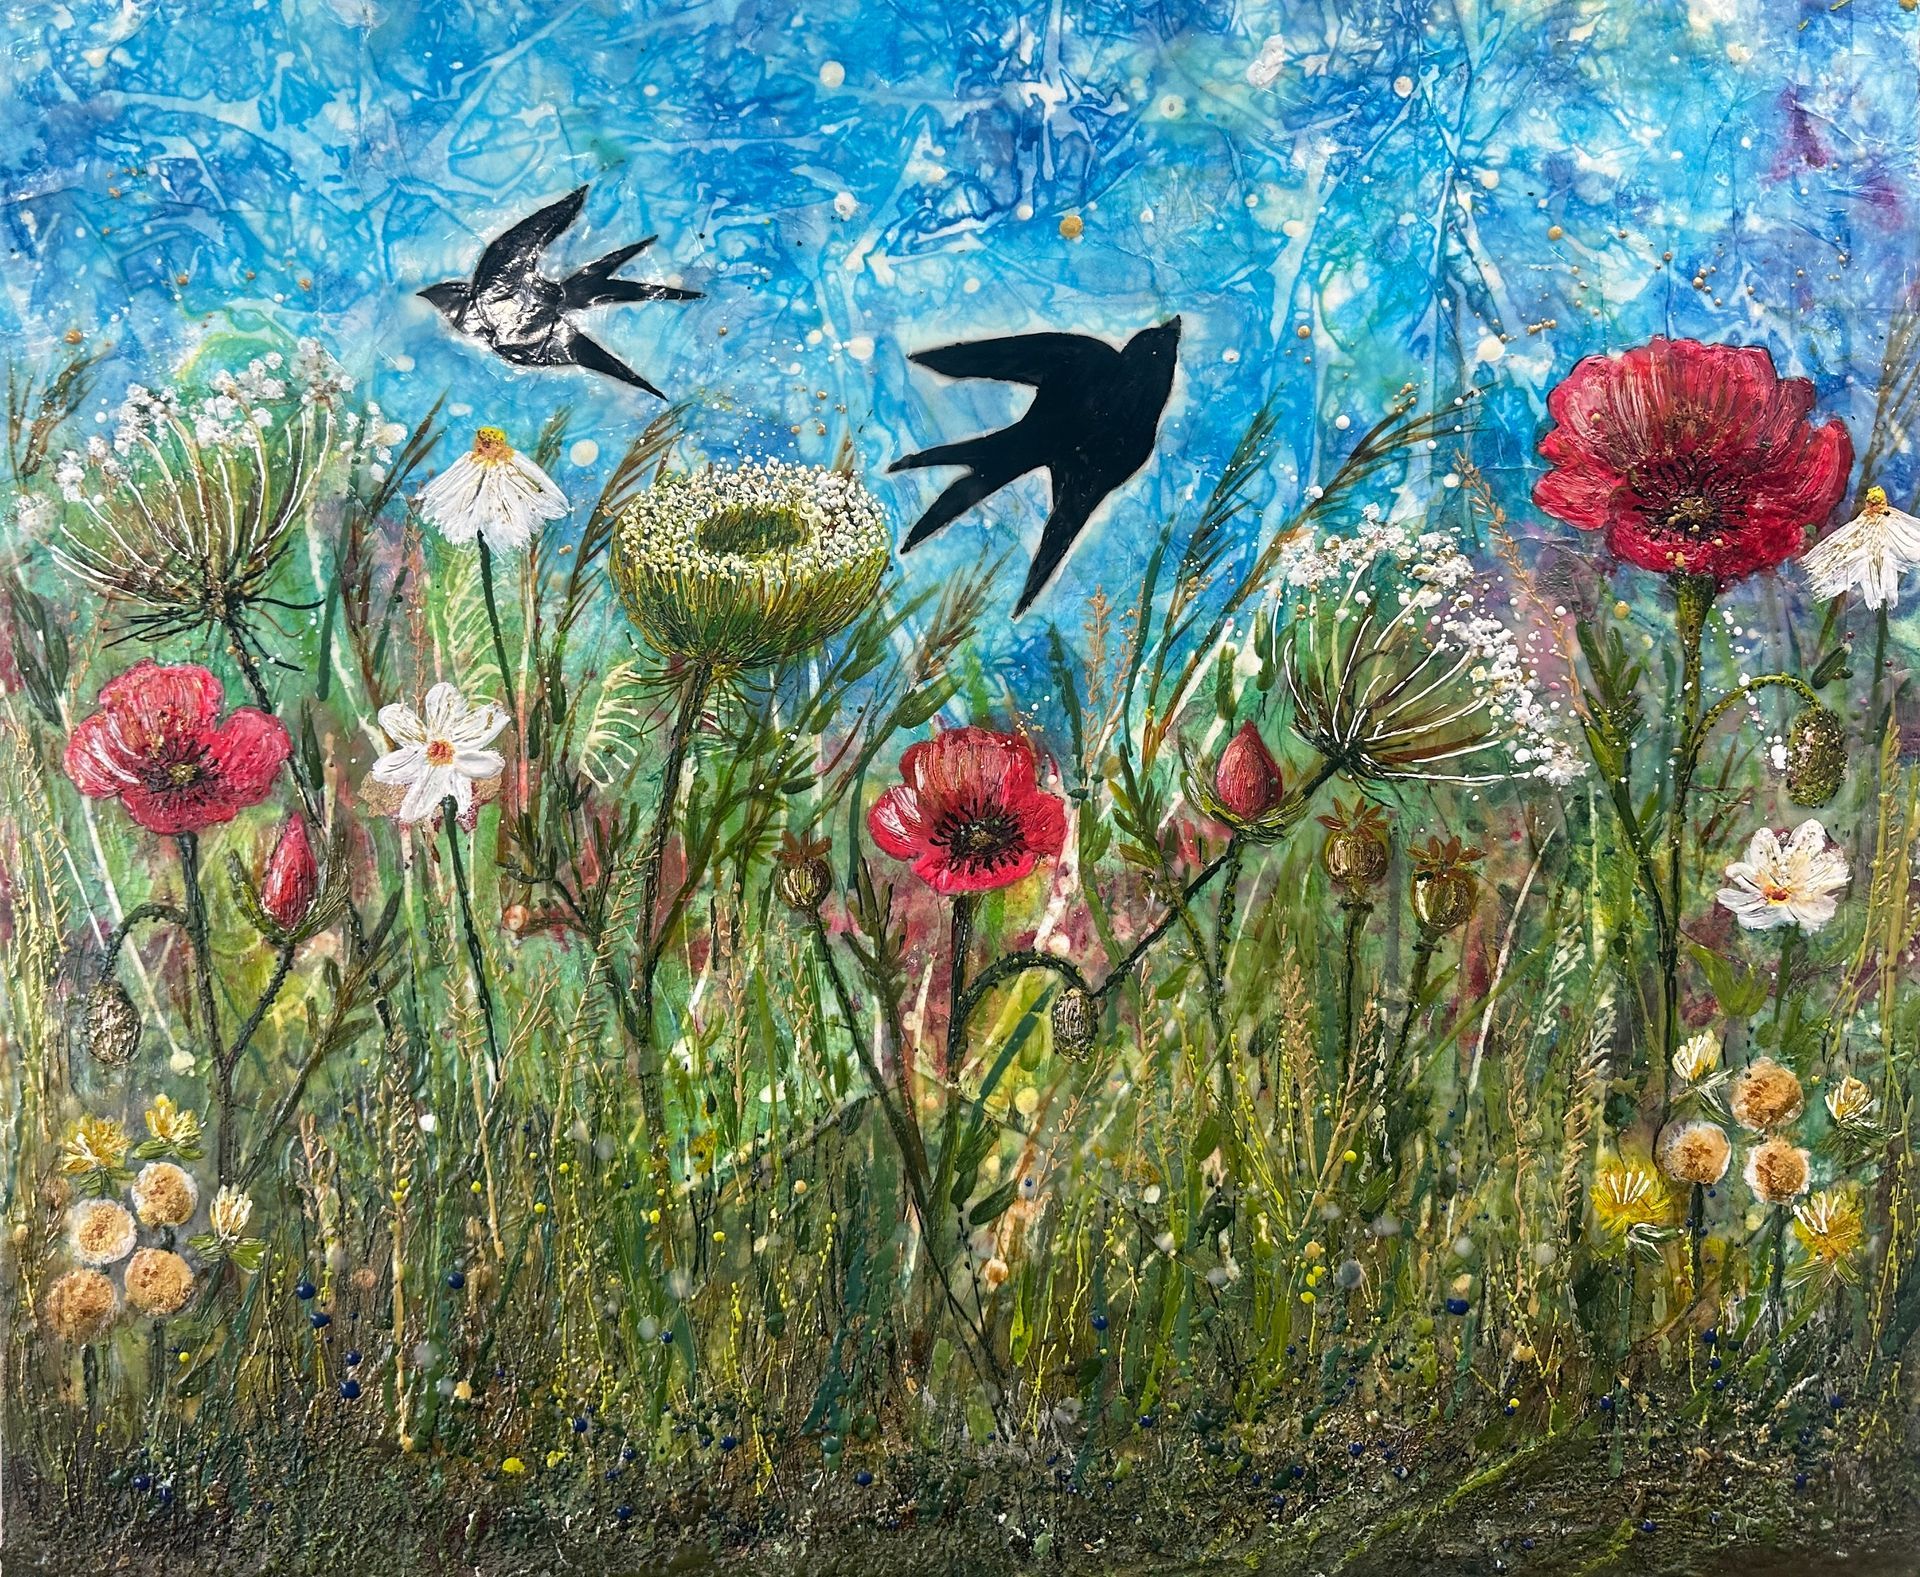
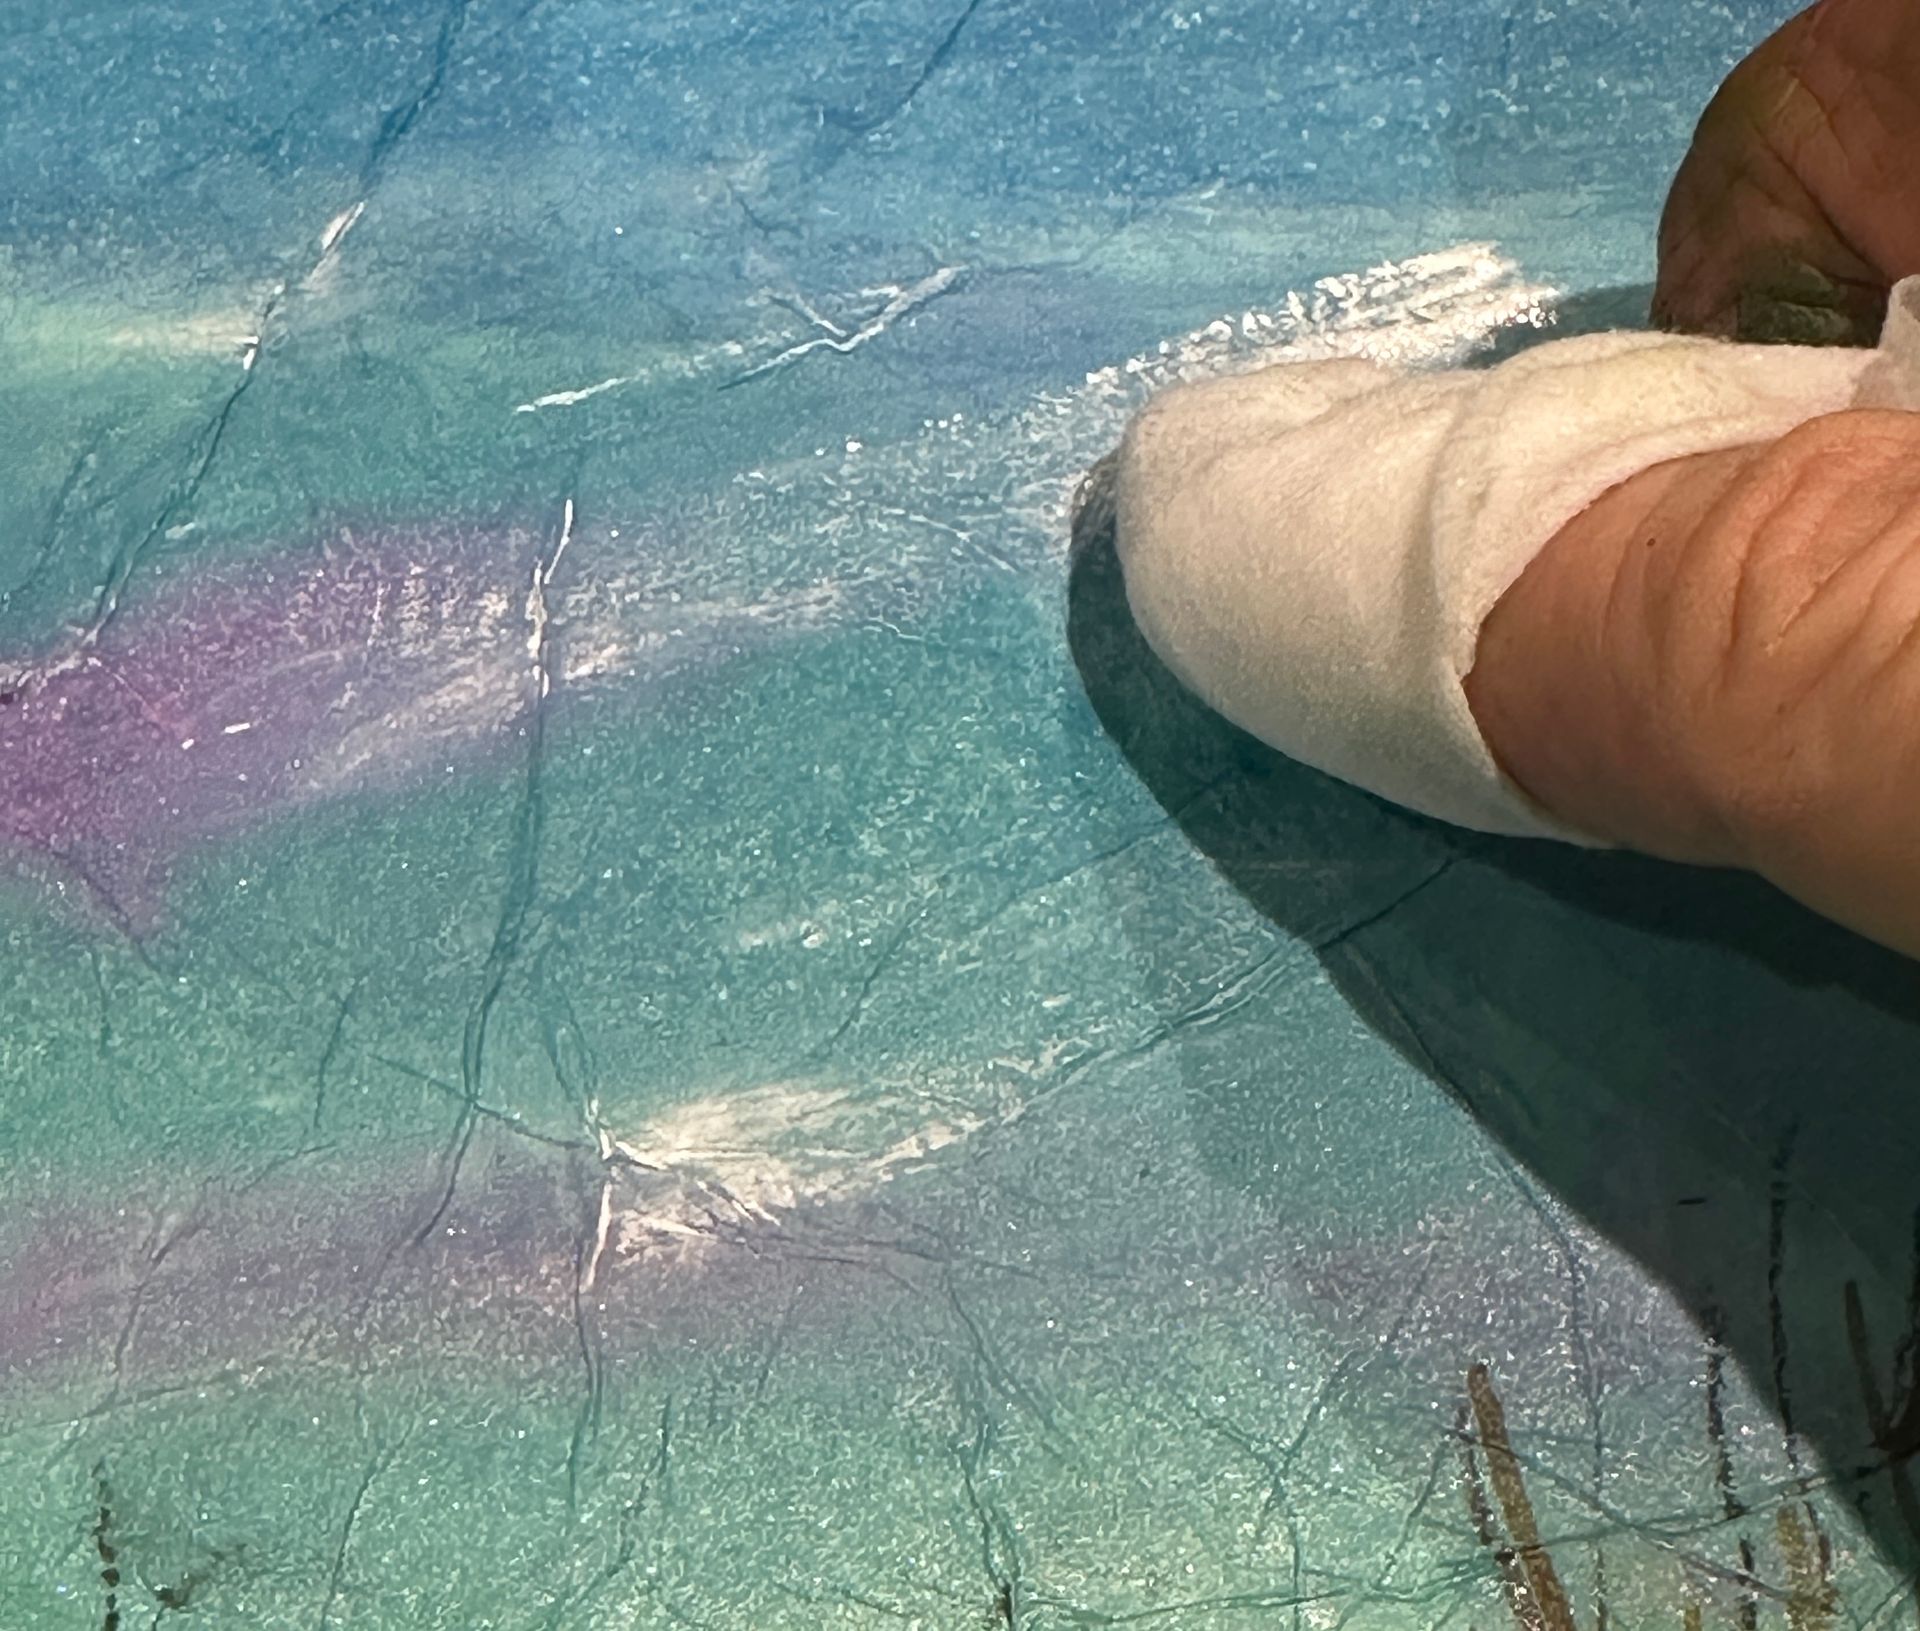
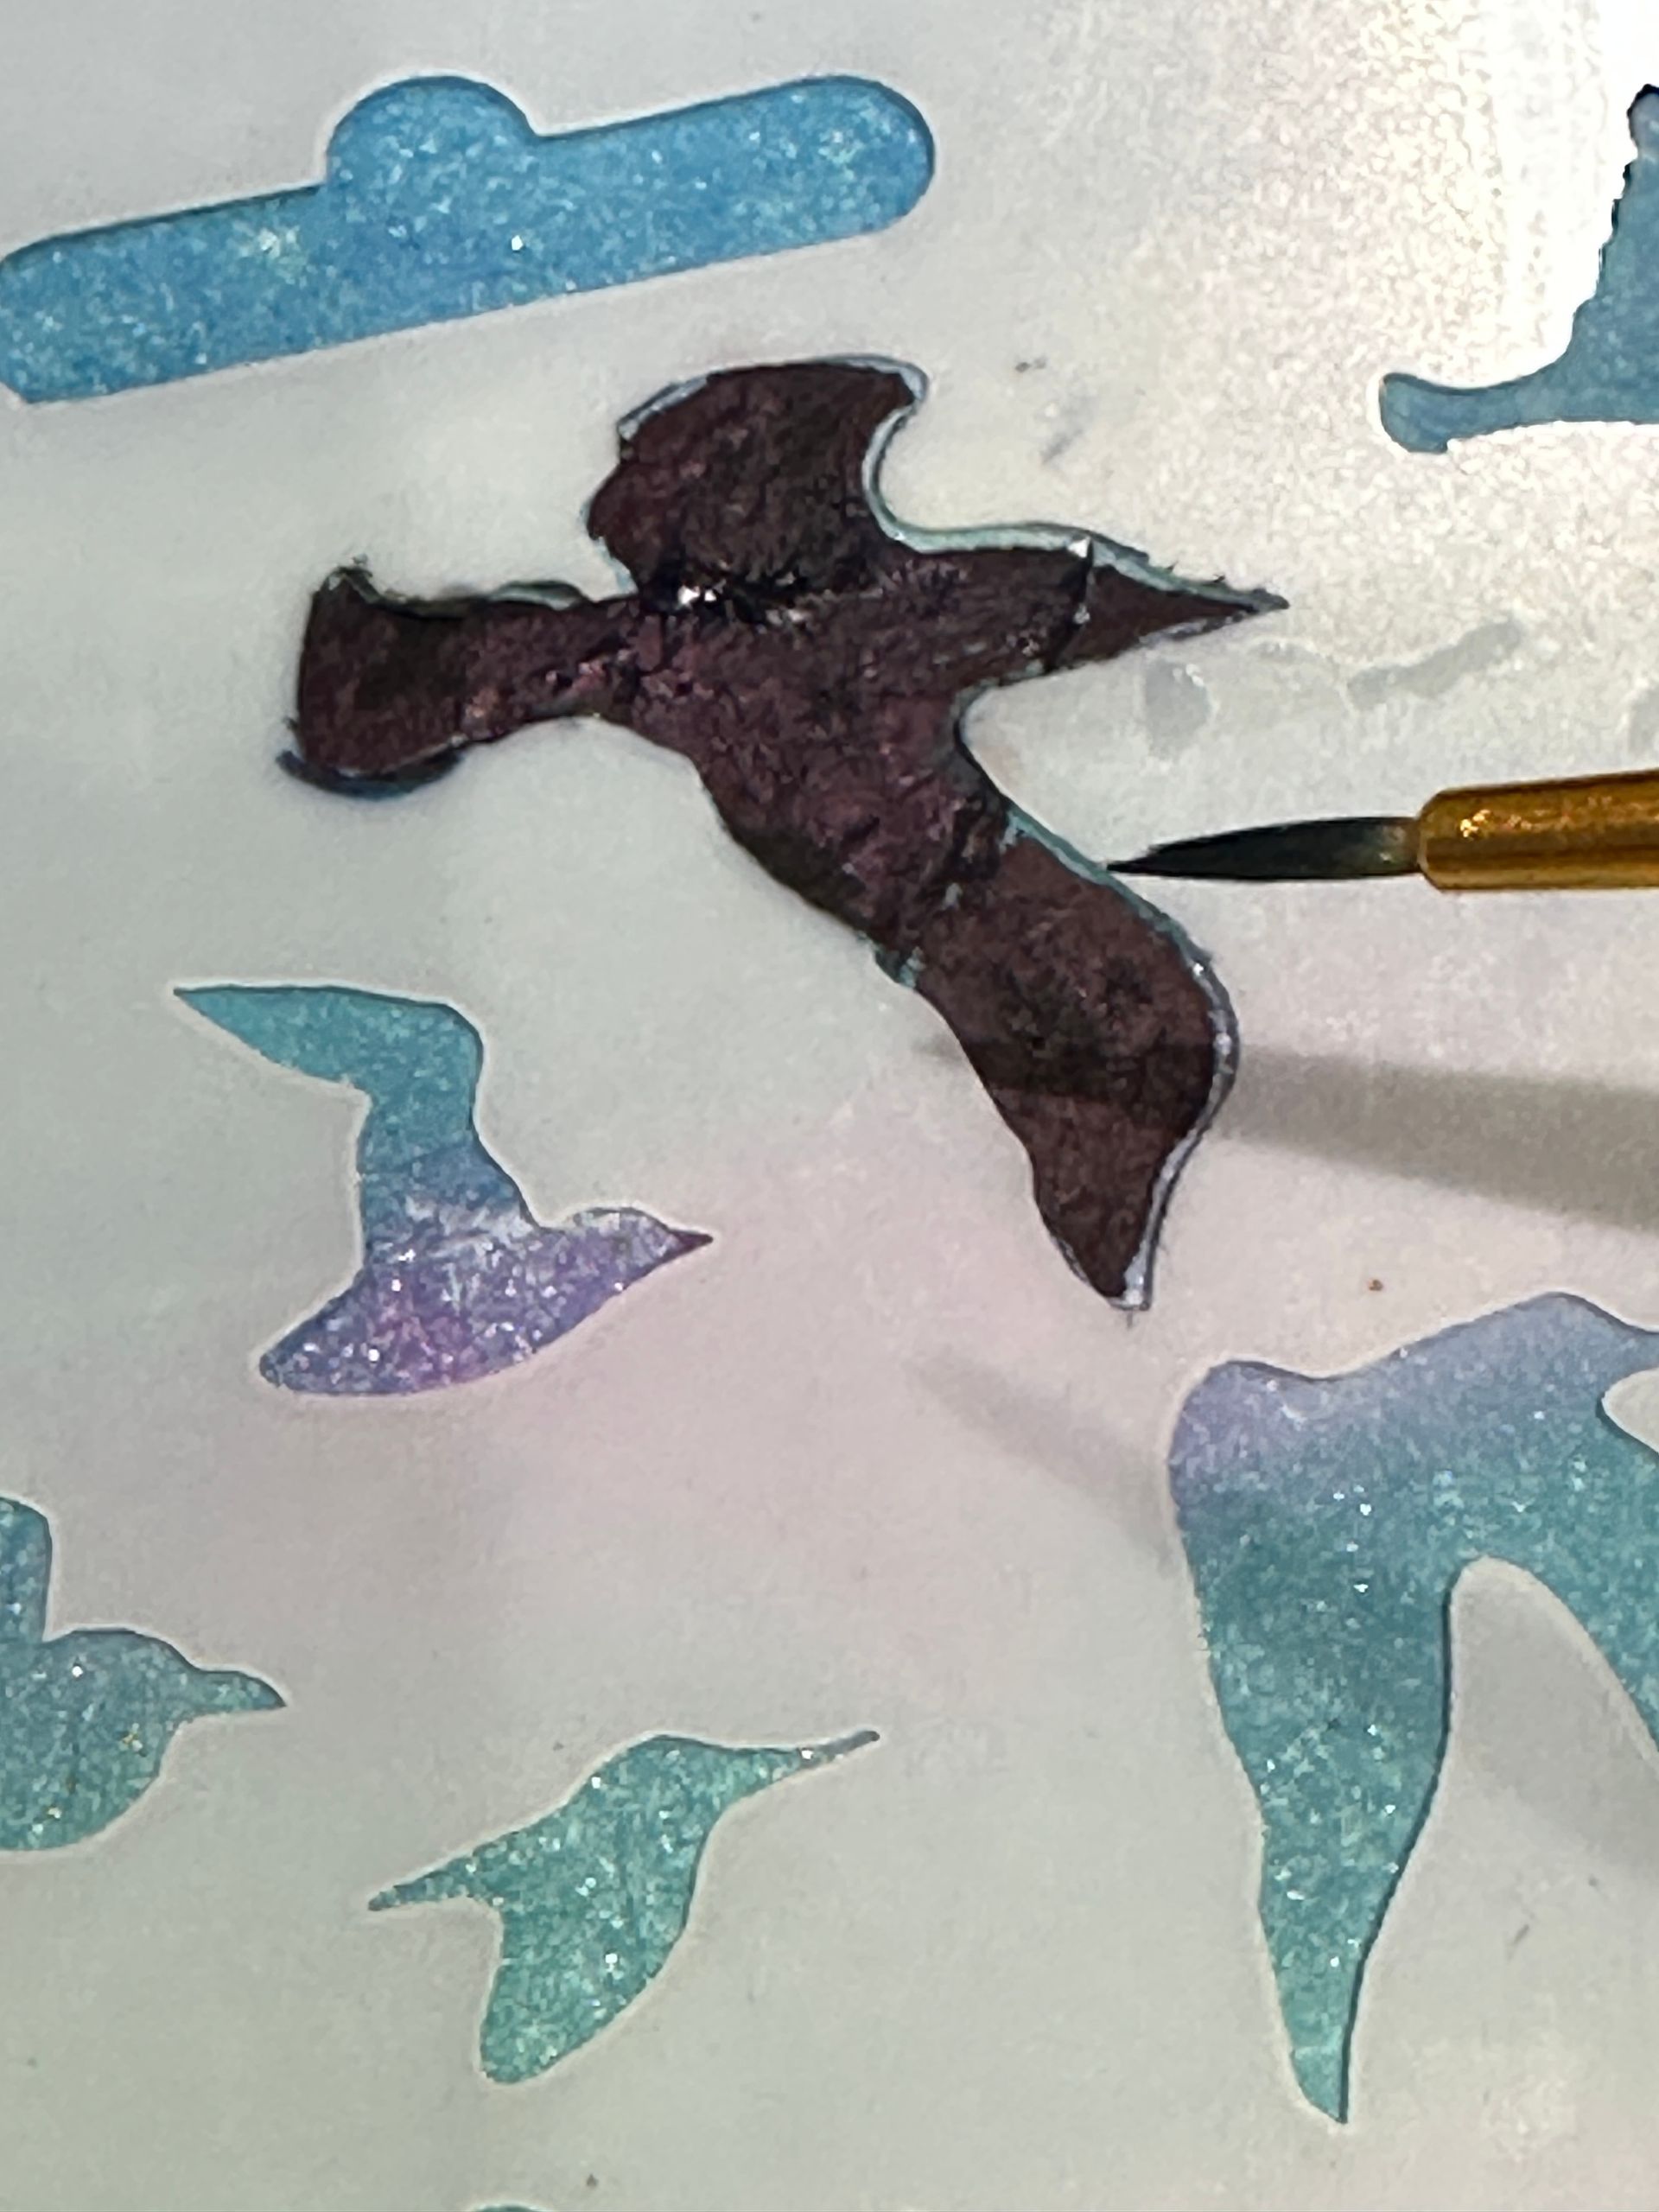
Using a baby wipe smear and rub some white paint into the sky for clouds. Optional: add birds into the sky, using a stencil or hand paint, using a dark blue or black paint.


Step 5.
Splatter a few colours of inks or diluted acrylic paints across the lower part of the painting e.g. pink, red, white and gold - to represent abstract wildflowers. Continue to add more layers to the design until you are happy. Once the painting is dry, gently rub on some final highlights of gold pan pastel to catch the textured tissue. Paint in abstract foliage using a acrylic ink.
TOP TIP: you can always wipe off paint with a baby wipe or layer over dried ink or paint if you are not happy with your initial design.
Step 6.
Seal the final painting with Modge Podge or other acrylic sealer sealer (matt or glossy). Apply with a foam applicator or sponge.
Finish the edges of your board e.g. by painting or adding gilding wax. If using paper, you can mount the completed painting onto a card or frame it as a piece of artwork.


Let me know how you get on using this Guide. Please contact me if you have any queries about this art activity. I would love to see the art you create.
Contact me on Instagram: www.instagram.com/gillieb60 or though the Contact details on this website.
Please subscribe to my Newsletter to hear about new updates, new art, top tips, course information and guidance.
You may also be interested in